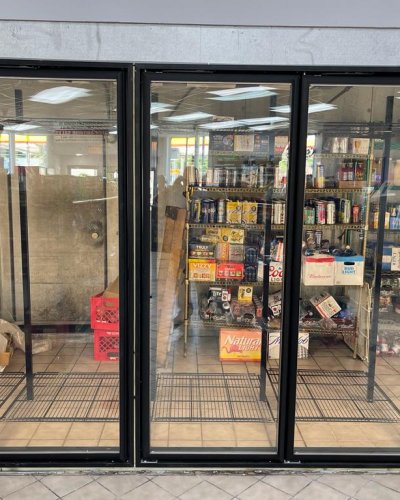
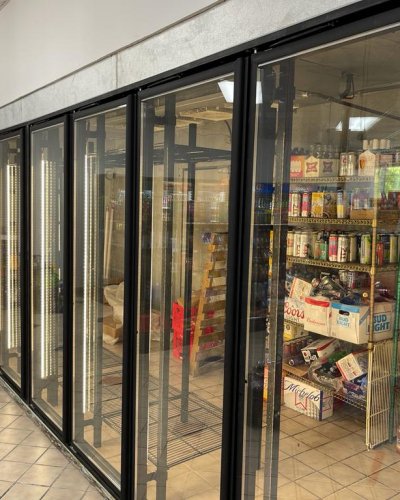
Place: Lorine City, Ohio.
Year: 2022
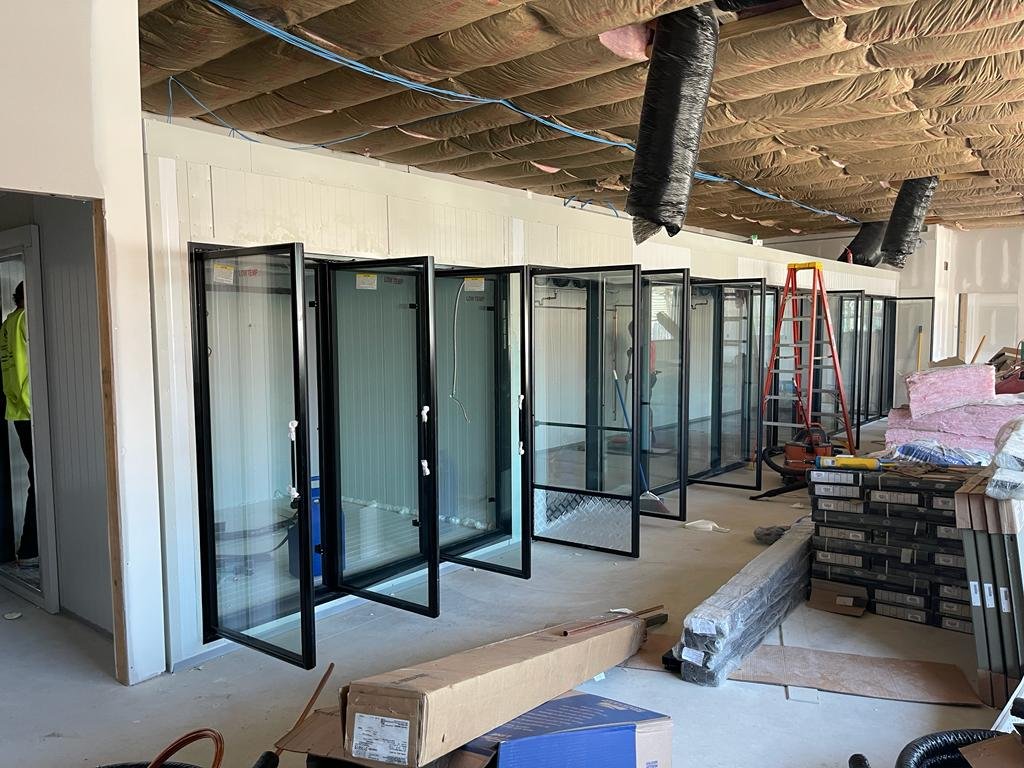
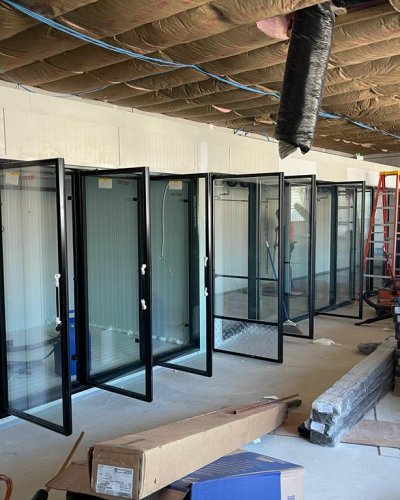
Project: Walk-in-cooler
About the Project
Walk-in Cooler Installation Steps:
Step 1: The Channel
First, we install the base channel, which attaches directly to the floor with concrete anchors. We install a thermal insulation material between the channel and the floor as an additional thermal break. After the channel installation, the wall installation can begin.
Step 2: The Walls
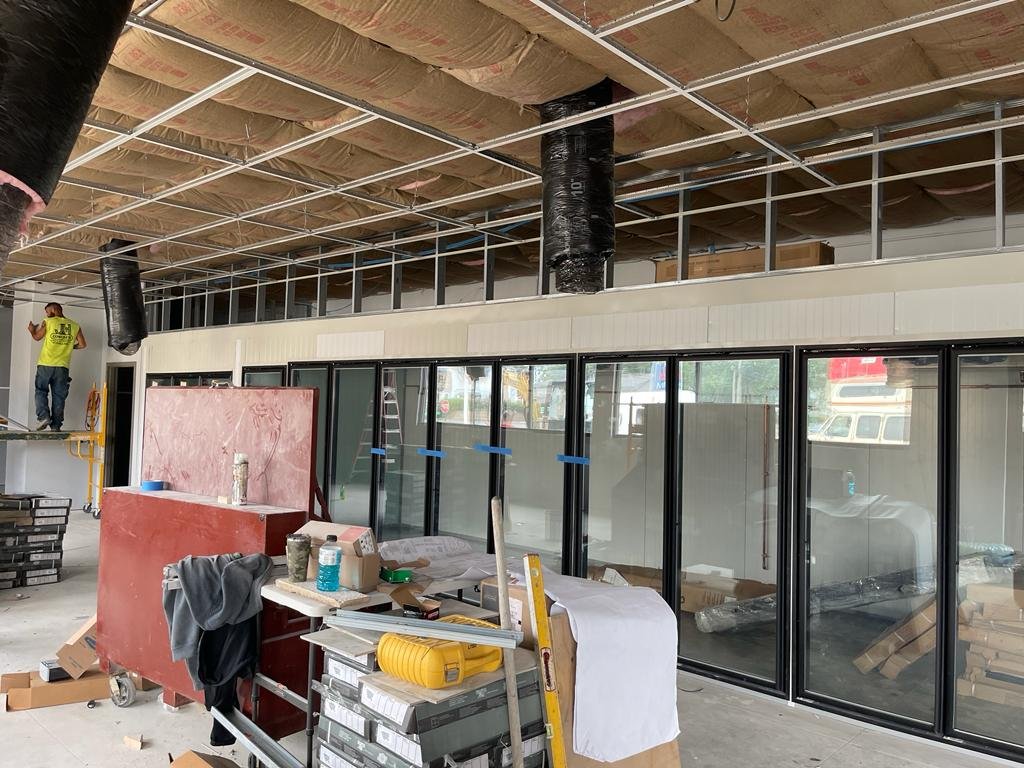
The second step entails assembling the walls of the walk-in cooler enclosure. The wall assembly starts in a corner opposite the main door. We then insert a molded corner piece into the channel.
After that, we install a flat wall section adjacent to the corner piece. Before we join these two sections, we apply silicone to the mating groove between the two panels. Although the panels are generally airtight, the silicone allows them to become watertight also. We then add panels from the pre-staged setup area according to the installation schedule shipped with the walk-in cooler. Each panel is clamped to the previous panel forming a structural enclosure.
Additionally, the installation crew verifies the panels are lined up correctly and tightened sufficiently. Next, we add additional panels to the existing wall until it reaches the next corner. After checking alignment and position of the existing panels, the team assembles the next corner. This continues in both directions until most of the enclosure is constructed.
Step 3: The Ceiling
In the third step, we add the ceiling panels. Once three walls have been partially completed, we place the first ceiling panel atop the structure.
We install this first ceiling panel after applying silicone to its mating services. This helps increase the strength of the partially built enclosure during construction. It also aligns the structure to be perfectly square before we complete the walls.
After we install the first panel or two, we place additional panels above them as a staging area, as needed. We place additional panels on top of assembled ceiling panels before we complete the ceiling for easier access and assembly after the final wall installation. As the walls progress, we then install ceiling panels to help maintain a square, true, and plumb structure.
Step 4: The Door
In the fourth step, we install the door. The door unit comes as a completed assembly, and we assemble it similarly to a typical wall panel. The weight of the door assembly requires multiple people working together to achieve correct installation.
We insert the door panel in the opening between two walls. Alignment is critical for proper installation. Although it sounds easy, installing a walk-in cooler door is the hardest step in the installation process. Once we assemble the door, the final ceiling panel can be fitted, completing the enclosure.
Step 5: The Evaporator
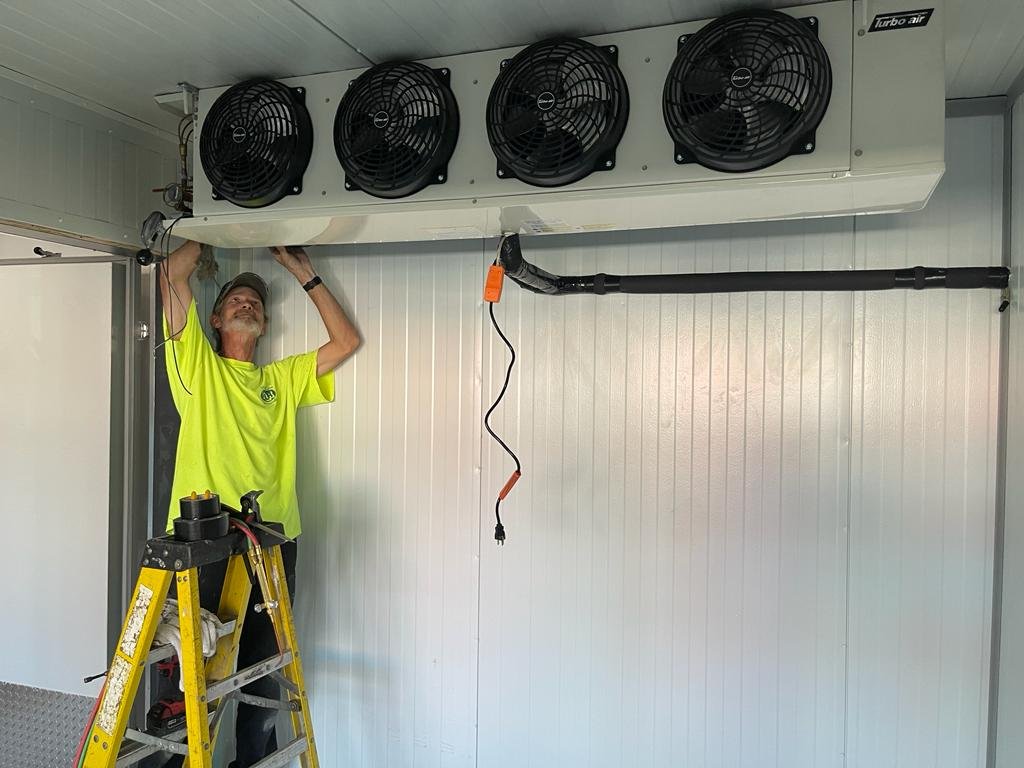
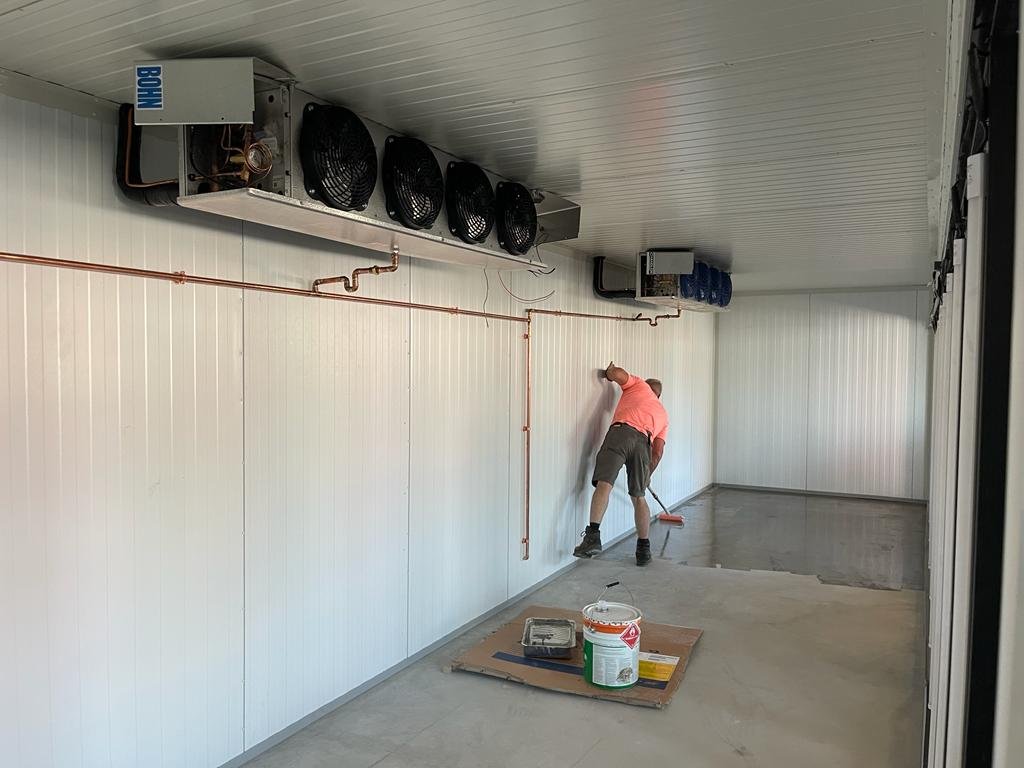
In step five, we install the evaporator in the assembled walk-in cooler. To install the evaporator, the crew drills four holes through the ceiling for each evaporator. Typically, the evaporator is installed opposite the door.
Threaded nylon rods hang through the ceiling, and the evaporator mounts to these threaded rods. The threaded rods allow the evaporator to be adjusted until level and positioned at the proper height inside the walk-in cooler. We use silicone to seal the holes cut through the insulation panels, maintaining a watertight seal.
At this point, we have assembled the walk-in cooler. However, it is not ready to be used. We need to plumb and attach the evaporator to the external condenser. We must install drain lines and wire it electrically before the walk-in can be used.
Step 6: The Refrigeration and Plumbing
In step six, we plumb and connect the evaporator to the condenser. The condenser is located outside the walk-in enclosure. It can be located inside or outside the facility, depending on space and need
A walk-in cooler can have many types of uses ranging from food storage to beverage delivery. Each type of storage may require different refrigeration and plumbing needs. For food storage, the walk-in may only require the evaporator. Alternatively, when used for beverage storage, such as keg beer, the walk-in requires additional plumbing, and refrigeration needs. A professional company like RSI can help you determine your needs.
Step 7: The Electrical
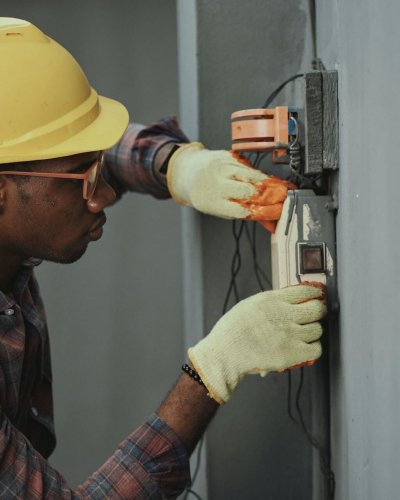
In step seven, we wire the walk-in cooler for power.
As each walk-in cooler is different, the specific electrical requirements can vary from walk-in cooler to walk-in cooler. Some systems require single phase power, while other systems require three phase power. Additionally, the walk-in can use programmable logic controller (PLC) to control cooling and defrost cycles.
At RSI, we ensure that we meet your electrical requirements and install it correctly.
Step 8: The Shelving
Finally, we install the shelving to the walk-in cooler.
We assemble wire shelving and place it around the inside perimeter, allowing easy access to needed items. The wire shelving allows air flow in and around the stored product. Shelving systems can accommodate small items such as butter all the way to large items such as kegs.
Most walk-in coolers are designed to store product for easy access and optimal cooling.
